Valentine's Day Heart Pop-up Card
Welcome to my Valentine's Day blog! I'm so excited to share my pop-up card and instructions on how to make it. I loved show casing some of the Occasions and Sale-a-bration (SAB) products!
Here's how to make this gorgeous card anyone would love to receive!
- Cut Real Red 12"x12" cardstock down to 6"x12" and score at 3" and 9". Fold both sides toward the center.
- Cut All My Love DSP to 5.75" x 2.75" for both front and inside side panels. I used the front and back of the same sheet. I chose the sheet with the hearts to match the front emblem cut out using the Be Mine thinlets.
- Cut a 5.75" x 5.75" section of DSP for inside middle panel.
- Use Be Mine thinlets to cut out desired heart shapes. I cut one large heart from Lovely Lipstick foil paper and Sparkle glimmer paper; a medium heart from Whisper White and to cut out the center of the pop-up heart inside; and a small heart from the DSP. I also cut out the multi heart dies from lovely lipstick and sparkle glimmer paper to add as embellishments on the front and inside. I also used the Lovely Lipstick foil
paper (a free Sale-a-bration item!) to make the emblem on the front.
- I cut a
small heart from whisper white cardstock to use as a latch to hold the front
closed. Just use the trimmer to cut a slit in the opposite side and place the
pointed end of the small heart in the slit. Add a small piece of tear tape and
close the other side to adhere the “latch” to the big heart and get it in the
exact place you want it. Then add adhesive to the back of the left side of the
emblem to secure it in place.
- Cut a large heart from Sparkle glimmer paper and cut a
medium heart from the center of the large heart. Use the small circle hand
punch to punch a little hole in the top and bottom of heart. Cut a little heart
out of the dsp and punch two little holes in the top and bottom. Use Rose
metallic thread to suspend the small heart in the center of the large heart.
- Next cut a 3/8” x 9” wide strip of cardstock. Score at
1.25 and 2.5” on both ends. Fold along score marks in a zigzag pattern. This
will help the heart pop up. I covered it with a strip of silver metallic edge
ribbon to cover the top of the cardstock only.
- The tear tape is a perfect adhesive for the ribbon. Tear
tape was my friend when I was connecting the heart die cuts on the front
- Use the multiple hearts die, on whisper white, lovely
lipstick and Sparkle glimmer paper and use the little hearts as embellishments.
- Stamp a sentiment from the meant to be stamp set on
whisper white cardstock. To create a little bit of contrast, I stamped the
heart in lovely lipstick and the sentiment in memento black. I cut the heart
with the Be Mine dies and the sentiment with the small layering rectangle die.
Adhere to the inside of the card to finish it up.
I hope you all like my card and are inspired to create a card for a special someone this Valentine’s Day!
You can get all of the supplies at my online store, including the free
SAB lovely lipstick foil paper with the purchase of the rest of the items. And if you have not already heard, there are some new SAB items coming out Feb 15! Keep a look out!
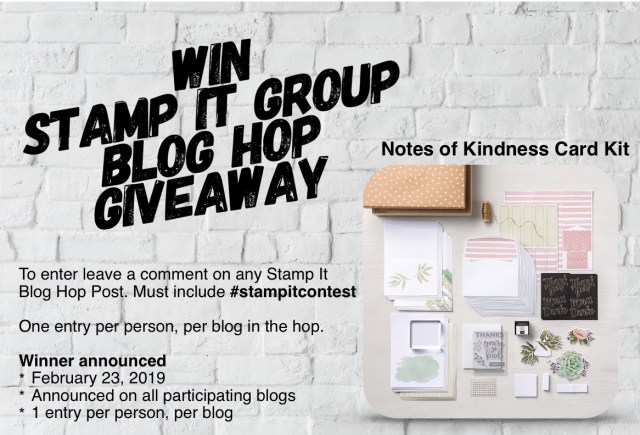
Contest
Last Month's Winner
Congratulations to Marilyn Deitemeyer!
Product List


 Designer Series Paper")


 Designer Series Paper")


 Cardstock")